

When you freshly paint your home, your walls look amazing and you hope that they stay that way, but with general wear and tear and little fingers, marks and general dirt and grime are bound to happen. Cleaning walls is one of the most overlooked chores when it comes to home cleaning, usually because people are worried that they will do more harm than good.
Over time, dust and dirt build up, which can make well maintained walls look rather grubby, but with regular cleaning, done properly and using the correct products and process, your walls will look fresh every single time.
So, what is the best way to clean walls? We have outlined below an easy to follow guide to ensure that your walls can be maintained in the easiest and safest way.
Prepare for Your Wall Cleaning
Before you begin, ensure that you have removed all furniture away from walls so you have clear and easy access. You will also need to remove any photo frames and any other wall art or hangings that you may have.
We recommend that you have the following:
- Ladder
- Dust cloths
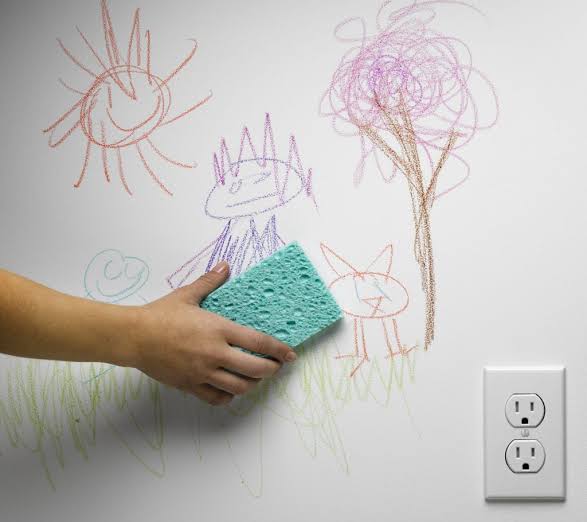
- Sponges
- Paper towel (or old washable towels)
- Vacuum cleaner and broom
- Washing up detergent or white vinegar
- Bucket
- Drop cloths
Surface Clean
Before you can commence doing a proper deep wall clean, you need to ensure that you remove any loose dust and dirt prior. You want to ensure that you are thorough when you do this, to ensure that you’re not just moving dust to another location on your wall. We would suggest that you use a broom to first clean the walls from top to bottom, and then go over with a vacuum cleaner. Ensure that you are using the ‘brush’ attachment on your vacuum so that you don’t do any damage to your walls and paintwork.
This is the time that you want to ensure that you not only get into the walls, but also the cornice and along the skirting as well. This is where dust will sit, as well as being the perfect place for cobwebs. After you have vacuumed, use a dust cloth to go over the surface to collect any excess residue.
Your Wall Cleaner Solution
There are many products available on the market that are designed for the cleaning of walls. However, you need to be careful as some of these are quite harsh and depending on the type of paint you have on your walls, they can remove the colour from your walls or leave additional marks that are unable to be removed.
An easy DIY solution can be made with products you probably already have at home.
Option One: Mix 5 tablespoons of white vinegar to 4 litres of warm water.
Option Two: Mix 5 drops of liquid detergent to half a bucket of warm water.
Prior to cleaning any walls, it is advisable to ensure that you do a spot test to ensure that it does not cause any damage to your walls or paintwork. Use a damp sponge with the chosen DIY solution and gently scrub your wall. Allow it to dry completely prior to commencing your clean to see if there is any damage.
Spot Stains
Depending on the stain, you may require a stronger solution when washing walls with larger stains. First, attempt to remove the stain by scrubbing in circular motions. If you have no success, strengthen your solution and use this on stubborn stains.
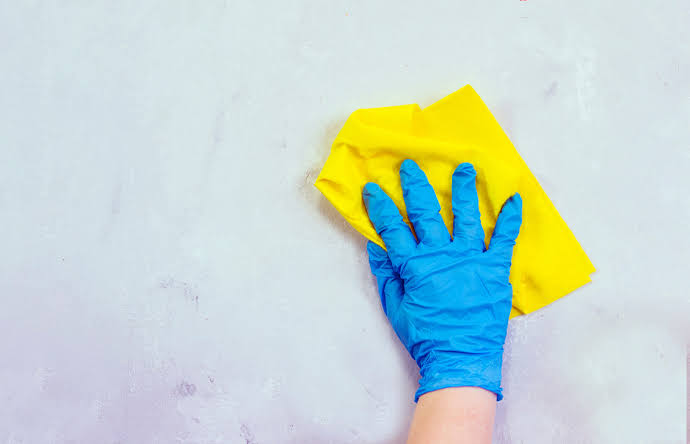
Washing the Wall
Put down drop cloths to ensure any excess water doesn’t end up on your flooring. Dip your sponge into the bucket and squeeze out excess water, you don’t need it too damp. Wipe the wall from top to bottom, one area at a time. Rinse the sponge as you go to ensure that you are not transferring dirt back onto the same surface. If you have water dripping down your wall, use a towel or cloth to soak these up to ensure that you are not creating new stains by the surface dirt.
If your wall is damp, use a clean towel to wipe off any excess moisture, this will allow the wall to dry quicker. Opening windows for extra ventilation will also increase your drying time.
It’s important to ensure you maintain regular wall cleaning as this will mean your walls are less likely to have permanent stains as well as maintain your paintwork for years to come.
