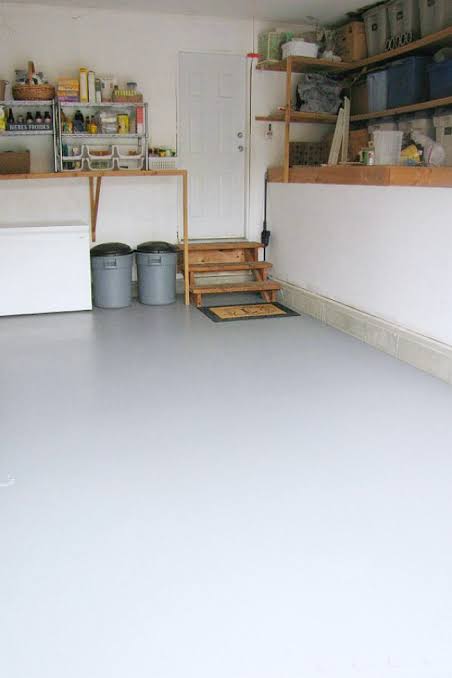
Painting concrete floors is something that happens often, usually in a garage or outdoor patio area. Before you attempt this yourself at home, ensure you follow our guidelines to get the best possible finish and a long-lasting paint job.
Clean / Wash the Floor
One of the best ways to ensure that your floor will be clean and ready to go for your paintwork, is to go over your concrete floor with a high-pressure hose to remove any built-up grime. Using protective eye covering and clothing, thoroughly wash the floor with a suitable solution for your surface. Allow this to sit for 10-15 minutes. Again, using your high-pressure cleaner, thoroughly rinse your floor. You will need to leave it to dry for two to three days, it must be completely dry prior to you starting to paint.
An easy way to tell whether the floor is dry is to seal a 20cm square of plastic wrap with tape on all edges to seal it to the concrete. Leave it overnight and then check the plastic. If there is any moisture under the plastic, let the concrete dry for a further 24 hours and test again. When the plastic wrap is completely dry, you can now move onto the next step.
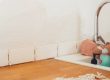
If your flooring is still wet or showing signs of any water seepage, you need to find the source of the water. Painting a wet floor will not give you a long-lasting finish and you will need to start again to complete your job properly.
Scrape, Sand and Vacuum the Floor
This step isn’t compulsory, but it is recommended to remove paint from concrete as well as any residue like adhesive, or uneven areas.
Scraping away accumulated residue doesn’t need to be back-breaking. If you use a scraper that attaches to an extension pole, this will make quick work of scraping away any hardened residue.
Any slight uneven areas can be sanded but you don’t need to use a floor sander; some sandpaper is sufficient. Vacuum your floor and wipe over with a damp cloth to remove any excess dust or residue.
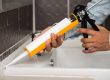
Cracks and Holes
If the surface of your floor is cracked, or has holes, now is your chance to fix this before applying your paint. Clean away any loose concrete from holes or cracks with a wire brush and vacuum the debris.
Use a concrete mix or a masonry crack filler and fill your holes with the mix and use a trowel to push into any depressions. Ensure that this dries thoroughly prior to painting concrete floors.
Choosing the Right Product for You
Depending on the paint product you choose, will depend on how it’s applied and if you need any additional primer to ensure the paint will last on your floor.
Speak to your local hardware store so you can learn about the concrete floor paint available to you.
Applying Primer
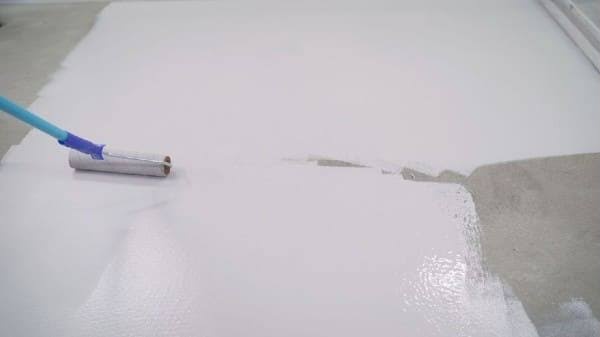
Check to see if you need to apply a primer first, depending on your product choice. If you do, you will need to apply two coats, ensuring that the floor dries completely between each coat. The best way to apply is to use a paint roller and work in small sections. Ensure you keep a wet edge which means you don’t allow the section you are painting dry before you paint the next edge. This prevents visible roller marks on the finished floor.
Applying your Paint
Using a clean roller, you can now apply your paint or epoxy, applying in the same way you applied the primer. Two coats will be required at minimum but make sure you follow the label for the paint product you are using. Ensure that your floor is completely dry between coats and follow the manufacturer’s instructions. Many good jobs have been ruined by not paying attention to the instructions for the product to cure.
Sealing Your Floor
Once the floor is dry it will look amazing, but to provide a long-lasting result, it is a good idea to apply a sealant. Choose a sealant suitable for the location (interior or exterior) and one that is compatible with the paint or epoxy. The sealant will add a lustrous and durable finish and prevent your work from fading so it looks goods in years to come.