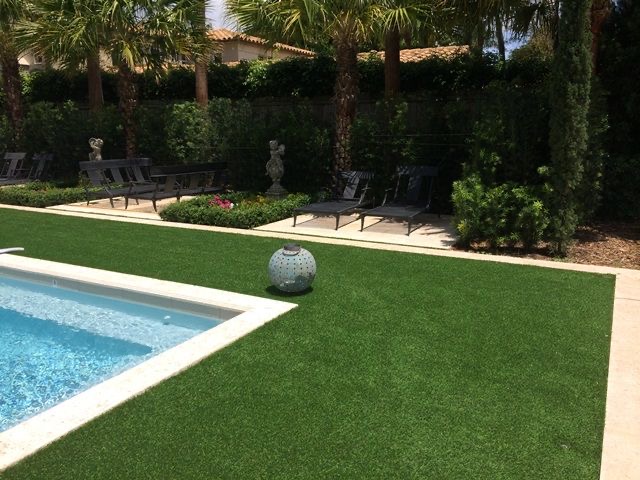
Everyone wants to have the best lawn in the street, but realistically, it’s time-consuming to try and achieve a thick luscious green lawn, so unless you’re prepared to spend every spare moment on your lawn, maybe it’s time to consider artificial turf.
Laying artificial turf will mean you won’t have to deal with much maintenance, you will have a luscious green lawn all year, and the installation process can be done yourself if you don’t want to outsource the job. That sounds like a win, right?!
If you’re now thinking of installing synthetic grass, let’s take a look at the tools needed for a DIY installation job like this.
Tools Needed
Installing artificial turf is fairly easy, but it’s important that you have the right tools on hand to make the job as easy and seamless as possible, which will also ensure that you end up with a professional-looking install.
Installation of Artificial Turf – What you will need:
– Rake, shovel and measuring tape
– Hammer and nails (flat head)
– Stanley or utility knife (be sure to have extra blades available)
– Access to water
– Synthetic turf joining tape
Items you need to hire/buy:
– Compactor
– Excavator if you are installing the turf in a large area
– Crushed rock – you will want to source one that is very finely crushed
– Whitewash sand
Laying Turf Preparation
Removing Existing Lawn
Good preparation is key. Take time to do this step properly, as it will ensure that your turf will stay in place and continue to look brand new in years to come.
Depending on how quickly you want to install your artificial turf, you may consider poisoning your existing lawn; this will allow it to die off and also kill any weeds with it.
If time isn’t on your side (as it can take a week, if not more, for the lawn to die completely), use an excavator for large areas to dig up the existing lawn. You can do this using a shovel as well, but it will take a lot longer.
You want to ensure that you remove any rocks and debris that may interfere with the installation of your artificial lawn.
Once you’ve removed the current lawn, ensure that you have a depth of approximately 80mm, this will be the bed that you lay your lawn on.
Your next step is to level your working area; this can be done with a rake. Ensure that it is as smooth as possible; it will help the next few steps.
Compact the base
You want to create the perfect base, and the best way to do this is to use finely crushed rock as the base for your artificial turf.
If you’re unsure what type to buy, go to your local landscape supplier and speak with them to discuss your options. You will be looking at approximately $40-45 per cubic metre.
Evenly spread the crushed rock base and use your rake to smooth it out as flat as possible. You may need to repeat this a few times to get a smooth finish. Once you’re happy with the result, it’s time to use a compactor with a vibrating plate.
Using your hose on a mist setting, spray the crushed rock and use the compactor until your base becomes sturdy. You want to aim for at least 15mm of sub-base depth (no more than 20mm), so don’t forget to measure everything once you’ve compacted the crushed rock.
If you end up going too deep, it will make the artificial turf look sunken into the ground, and it will look unnatural.
Putting the turf in place
Once you’ve completed the work required on the base, it’s time to start laying the artificial turf out. When you purchased the turf, it is likely to have been stored in rolls. It’s important to unroll it and leave it lying flat for a few hours, allowing any creases to even out.
Before you start laying the turf, work out which way you plan on laying it. You want to ensure that it’s all in the same direction; this way, it will fit seamlessly.
When it comes to cutting through your turf, ensure you use your sharp utility knife; clean cuts are important for proper joining.
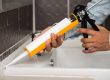
Joining the artificial turf
You want to ensure that your fake grass looks real. One of the easiest ways to do this is to ensure that there is the proper joining of the separate pieces. This is a very important step.
Your pieces shouldn’t overlap, but you do need to lay them as close as possible, with a very small gap, a couple of millimetres at most.
Roll the turf tape through the whole length of your piece. Once you’ve set your pieces in place, pill the adhesive protection of the tape and place that throughout the entire length of the join.
The easiest way to ensure your new turf is secured properly is to walk over the joining spot a few times. If there’s no movement and your tape is still in place, then you know you’ve installed it correctly.
If you have any pieces around the edge that are out of place or protruding, now is the time that you trim them with your knife. It’s recommended that you change your blade for this time to ensure clean cuts.
Don’t trim too much, as if you end up going too far in; you will need to mend with patches that will affect the natural look you’re hoping to achieve.
Set the turf in place
Once you’re happy with how your turf is positioned, you want to ensure that it stays in place.
Using your hammer and nails, place a nail every 30cm along the edge. The thinner the nail, the better, making them less noticeable.
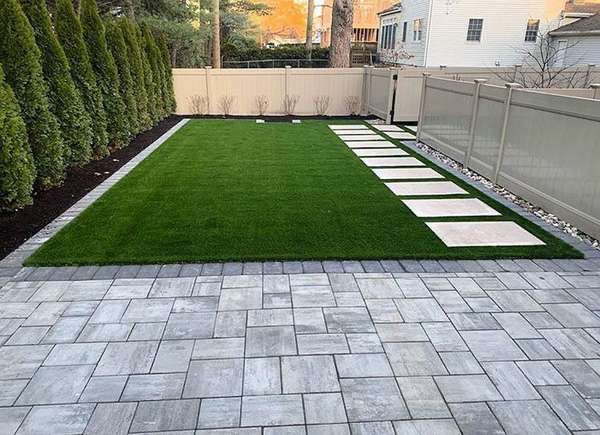
Now it’s time to add your sand. You will need approximately 10kgs of sand per square metre of turf. Gently spread the sand over the turf and use a rake to ensure it’s even throughout the whole area.
Your new turf is now ready to enjoy!
With all our ‘How to Blogs’, we recommend that you use this as a guide only and do further research by visiting the HIA website. The HIA Website provides expert knowledge in all areas of building and home renovation.